
Now that we are done playing with plaster we need to move on to the trim.
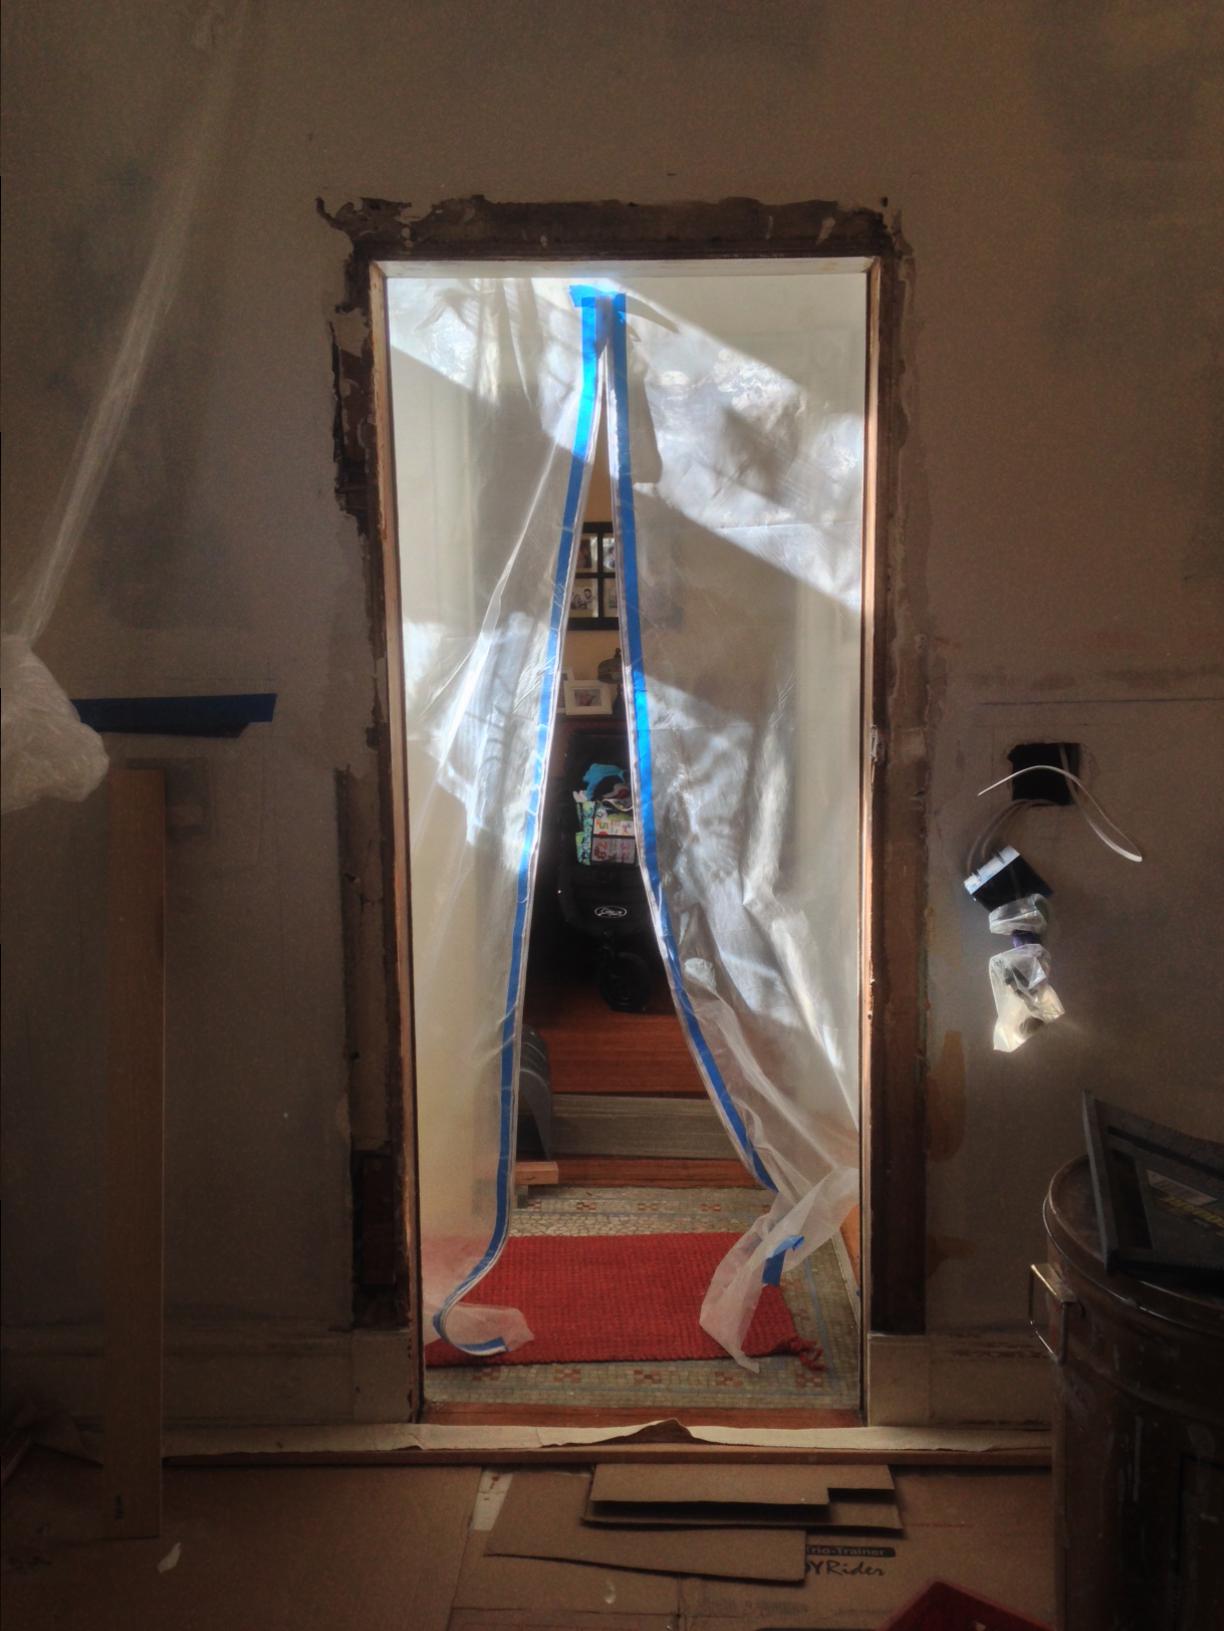
The door frames were all packed out with 1/4″ white oak when the house was renovated in 1900. Unfortunately that oak has since been painted & beat to hell over the years, so we are replacing it with new poplar to be painted. We ripped down the poplar on our table saw to get the right thickness & width.

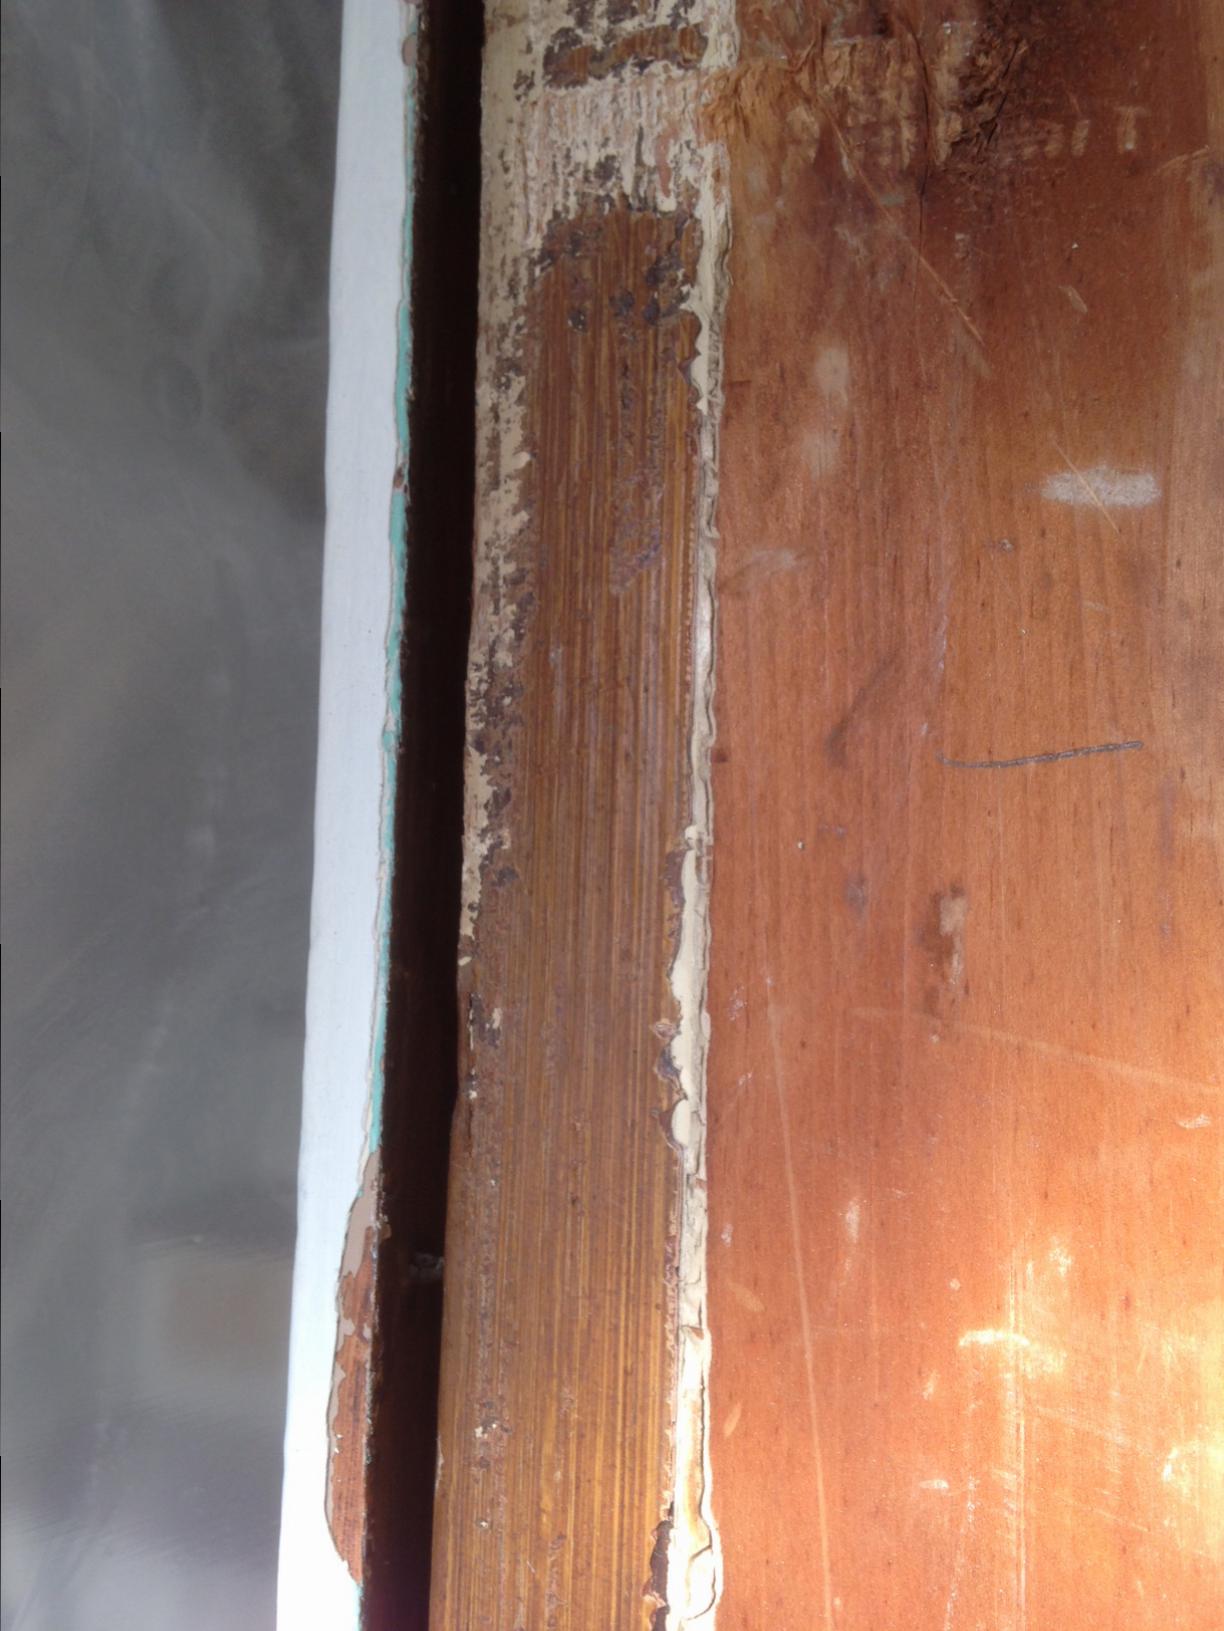
Interestingly beneath the 1900 oak, there was faux painted wood grain on the original jambs. This was a very popular technique during late Victorian to make cheap woods look more exotic. The area to the right that is not painted was likely where there was a door stop.
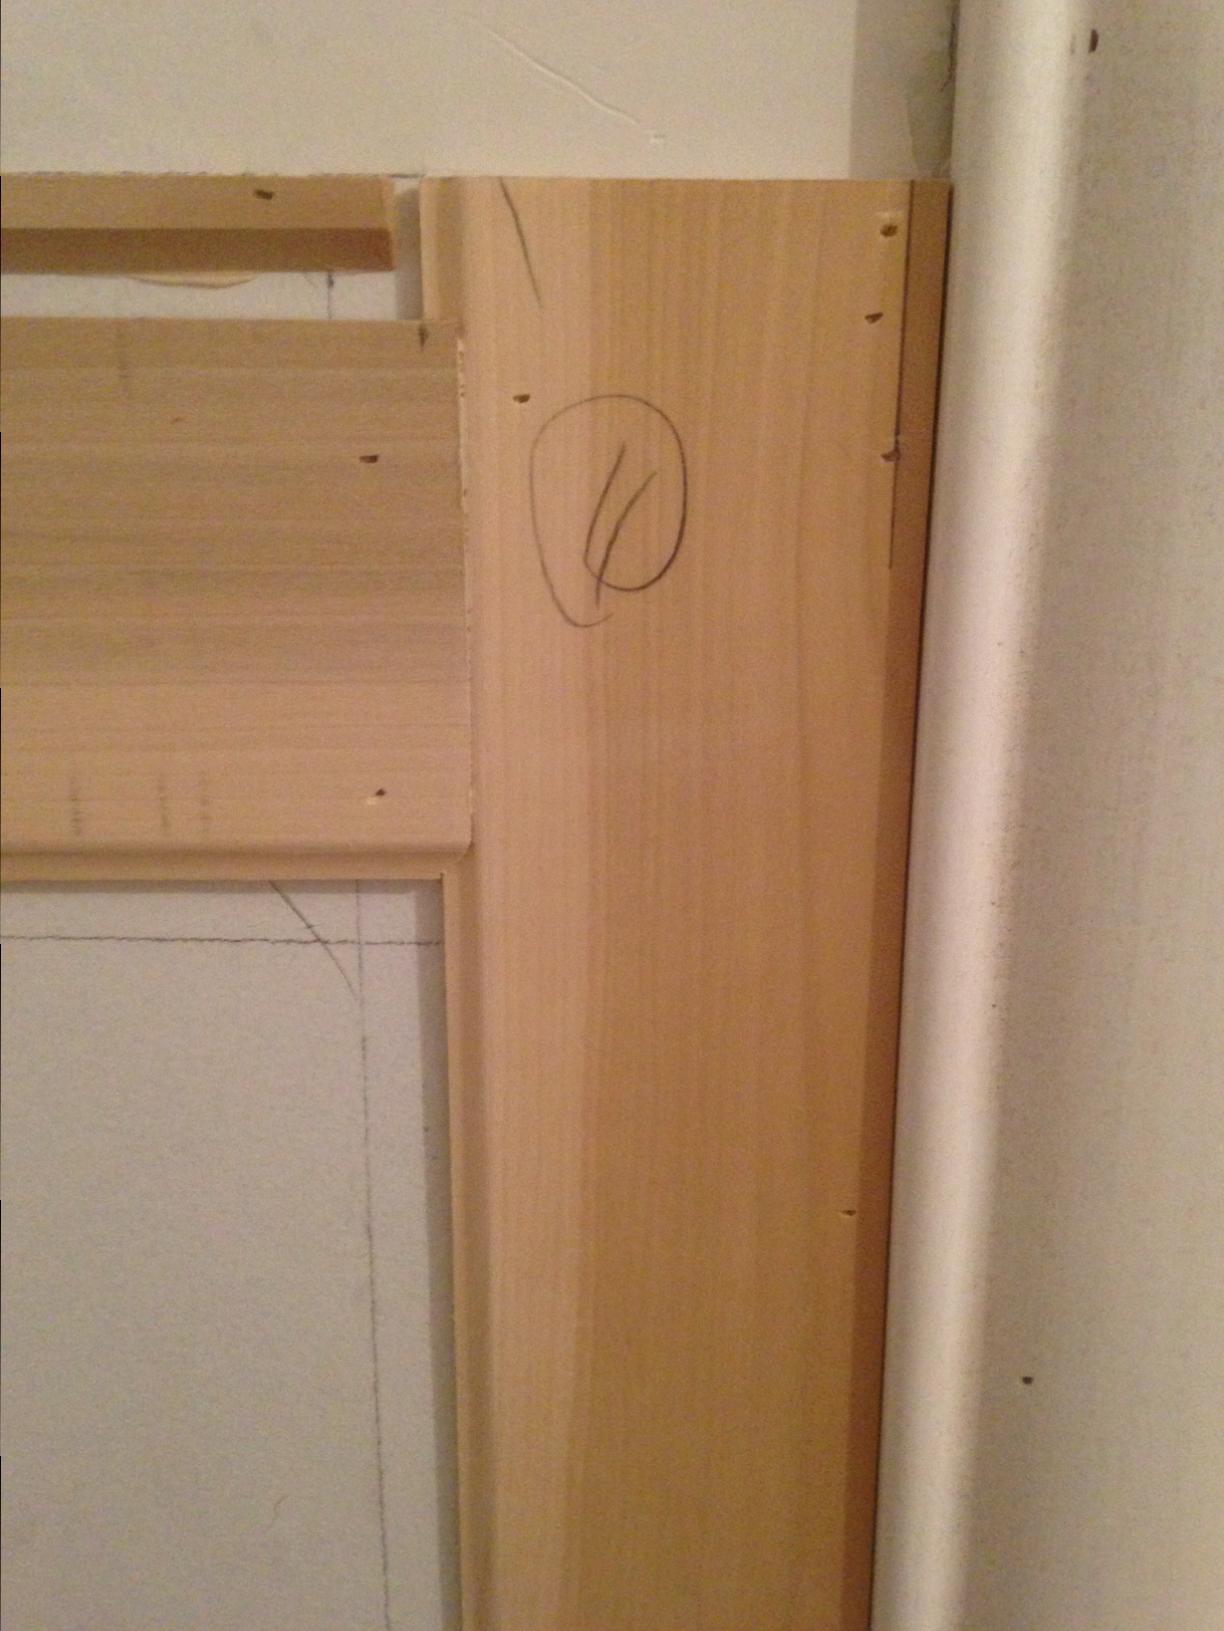
After the new jambs, we installed new trim, milled to match the original, and the old corner blocks that we had stripped the paint off of in the crock pot (see past post).

Next up we are adding a wainscot to the room; making the stile and rails on our router table to match the paneling profile elsewhere in the house.

First we install the vertical stiles,

And then the horizontal rails.

The backs of the rail ends are also routed out with reverse profile to nicely slip over the stiles.
Everything is glued and nailed in place. Once we install the stile & rails all the way around the room, there will be a top cap that was milled to match the original cap from this room. Stay tuned.
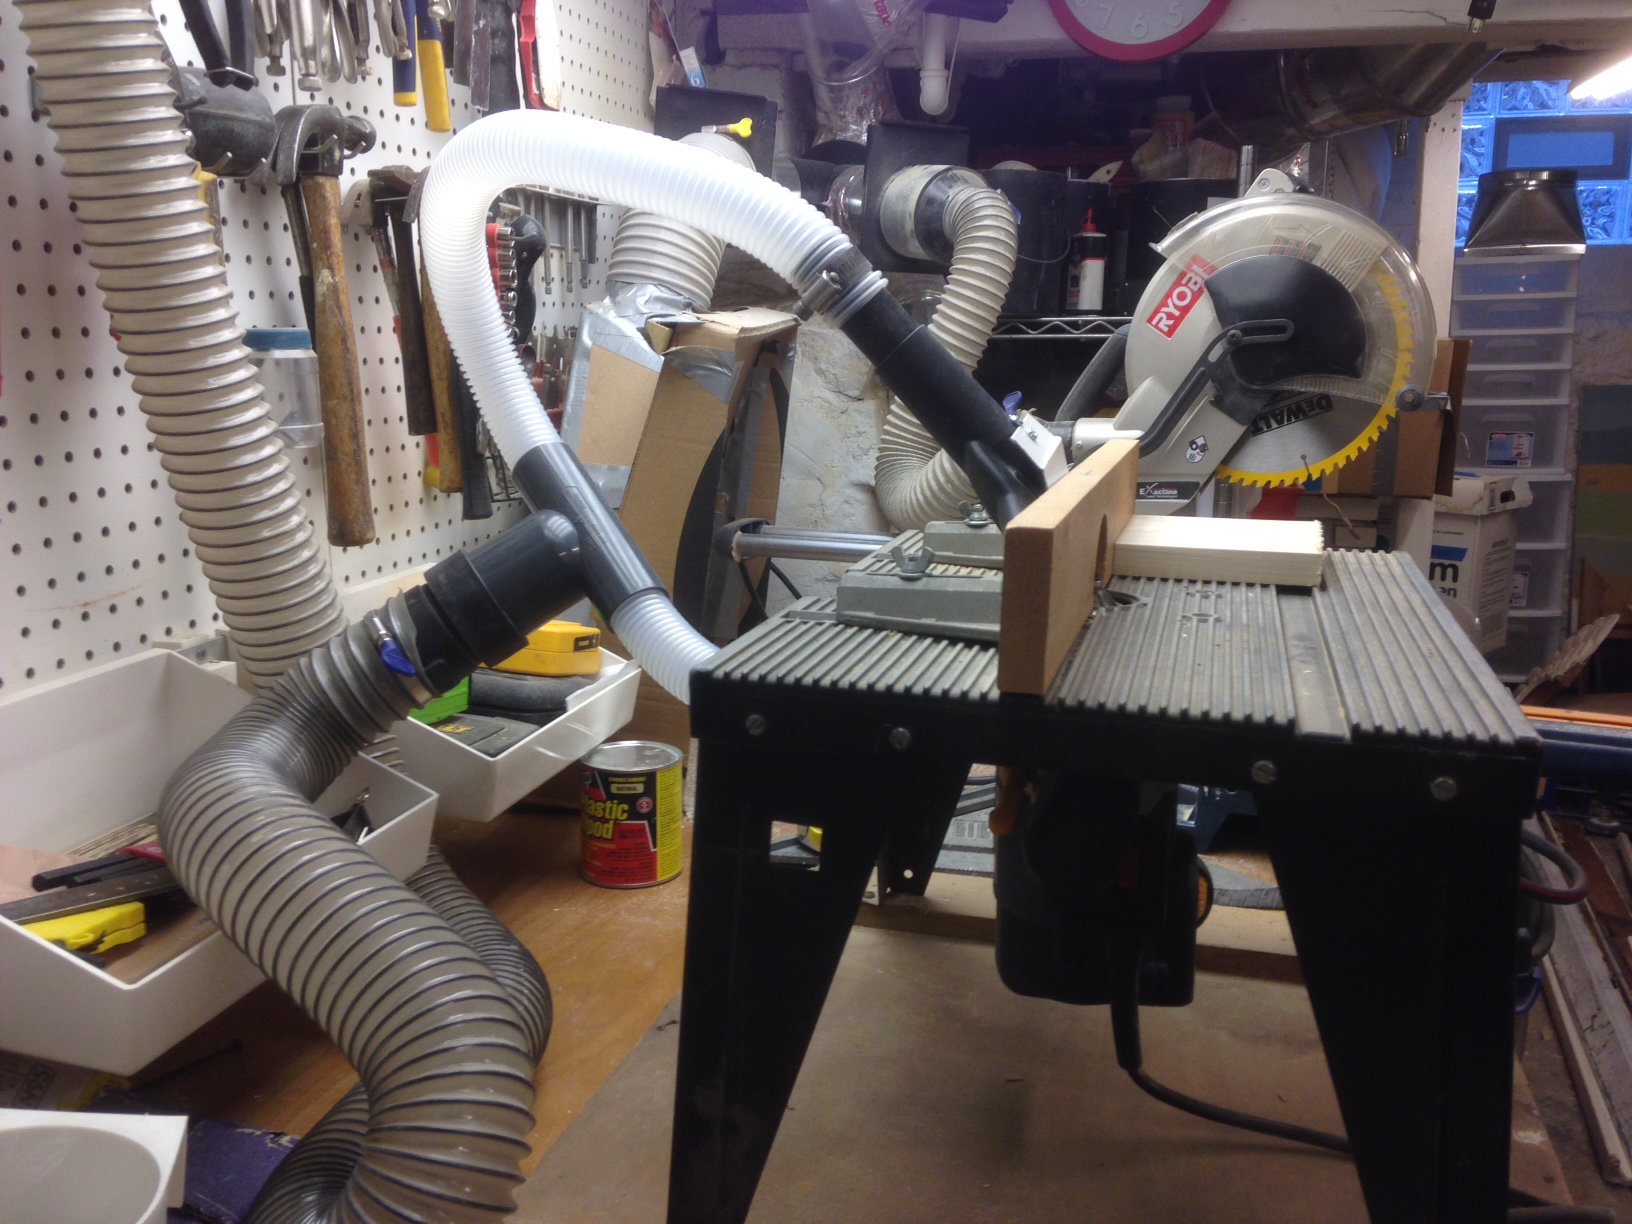
On a side note, one improvement over past router projects, we added dust collection to the top and bottom of our router table. Milling trim makes sooooo much dust, so this upgrade has made the work much more bearable, both for breathing and cleanup.
