
So after a bit of a hiatus our New Years resolution is to finish our last big remaining project, the Dining Room… the plaster ceiling is a mess, the light that we wired 5 years ago is not quite right now that we have used the room, the walls & trim need some work, and we are going to make the existing wood rail continuous again….
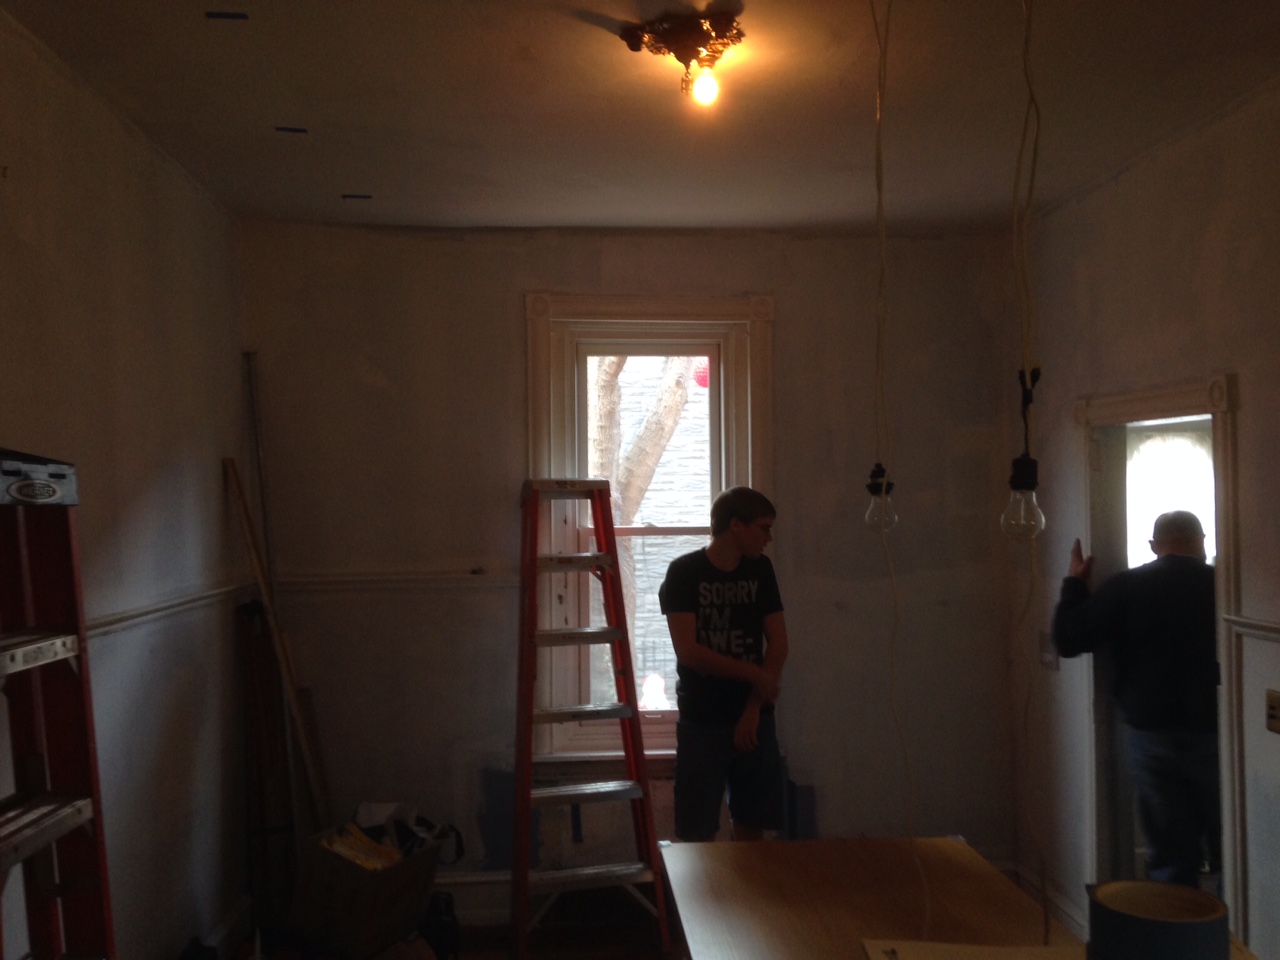
Our son is of course curious of what is going on? And we need to be much better about dust than in the past, so everything is taped and sealed with plastic and we have zipper doors to get into the room.

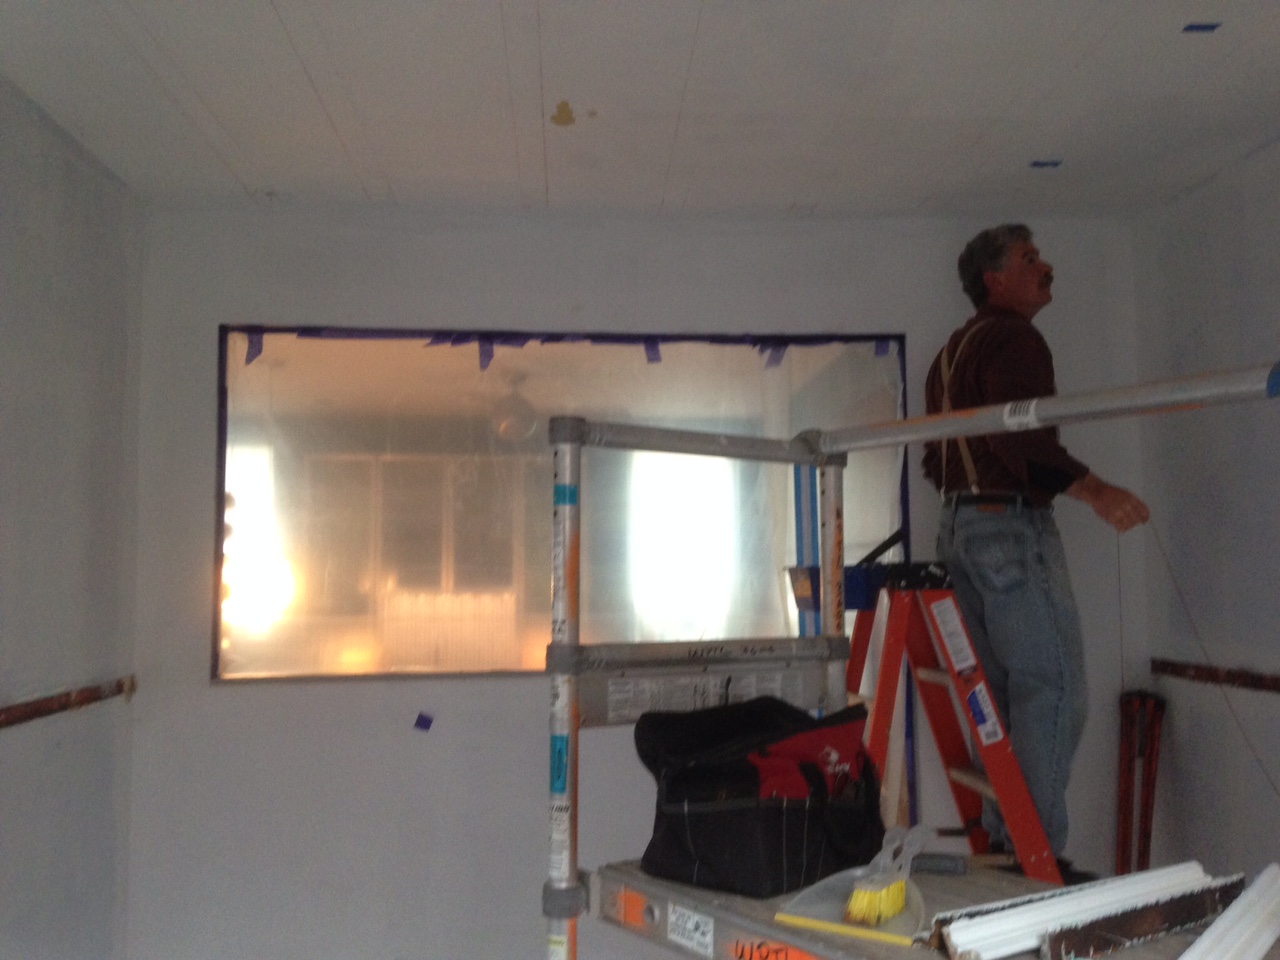
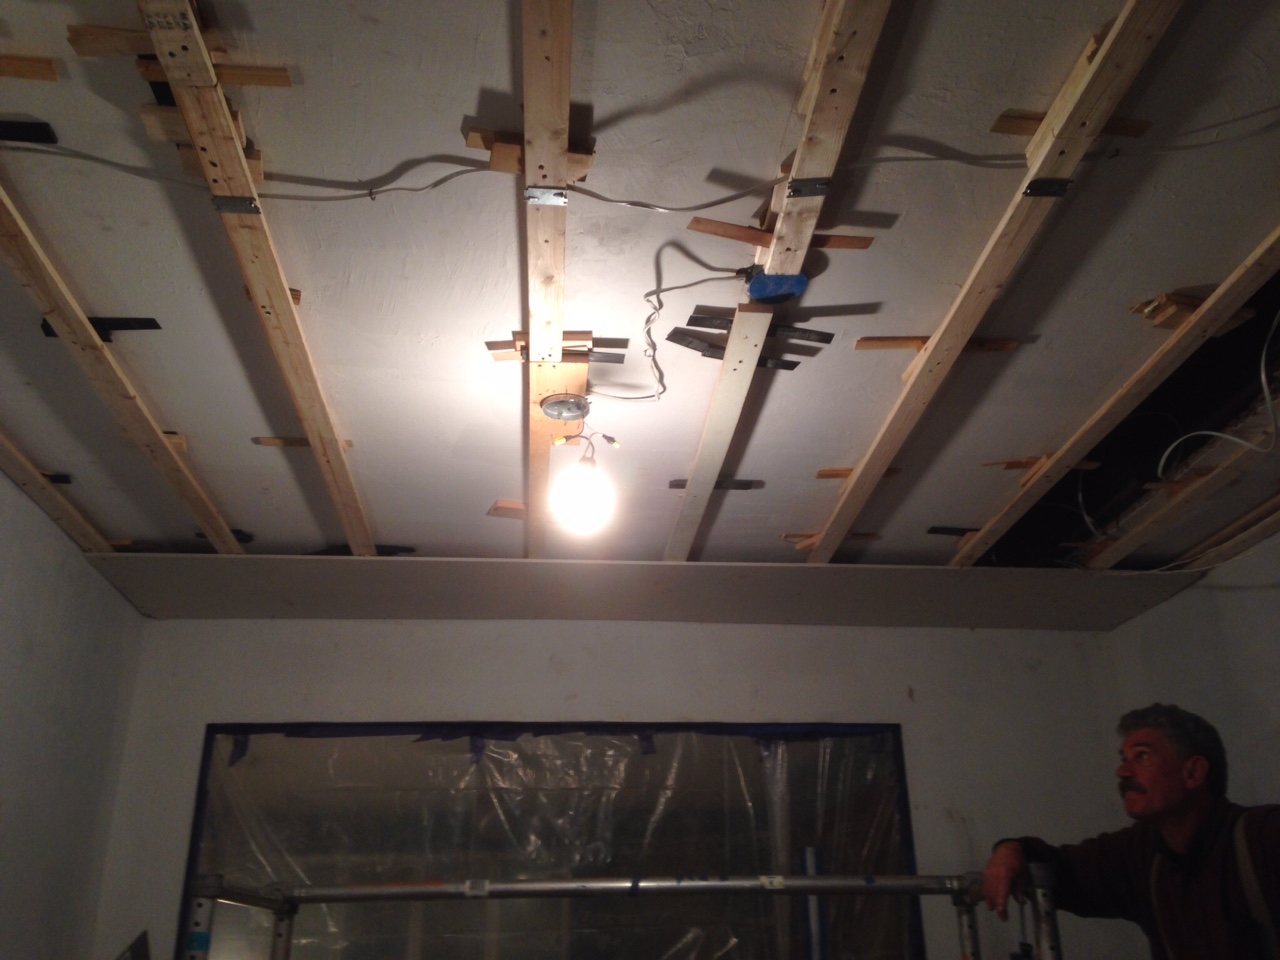
To drywall the ceiling, we first had to mark out the existing joists to anchor the furring strips to.
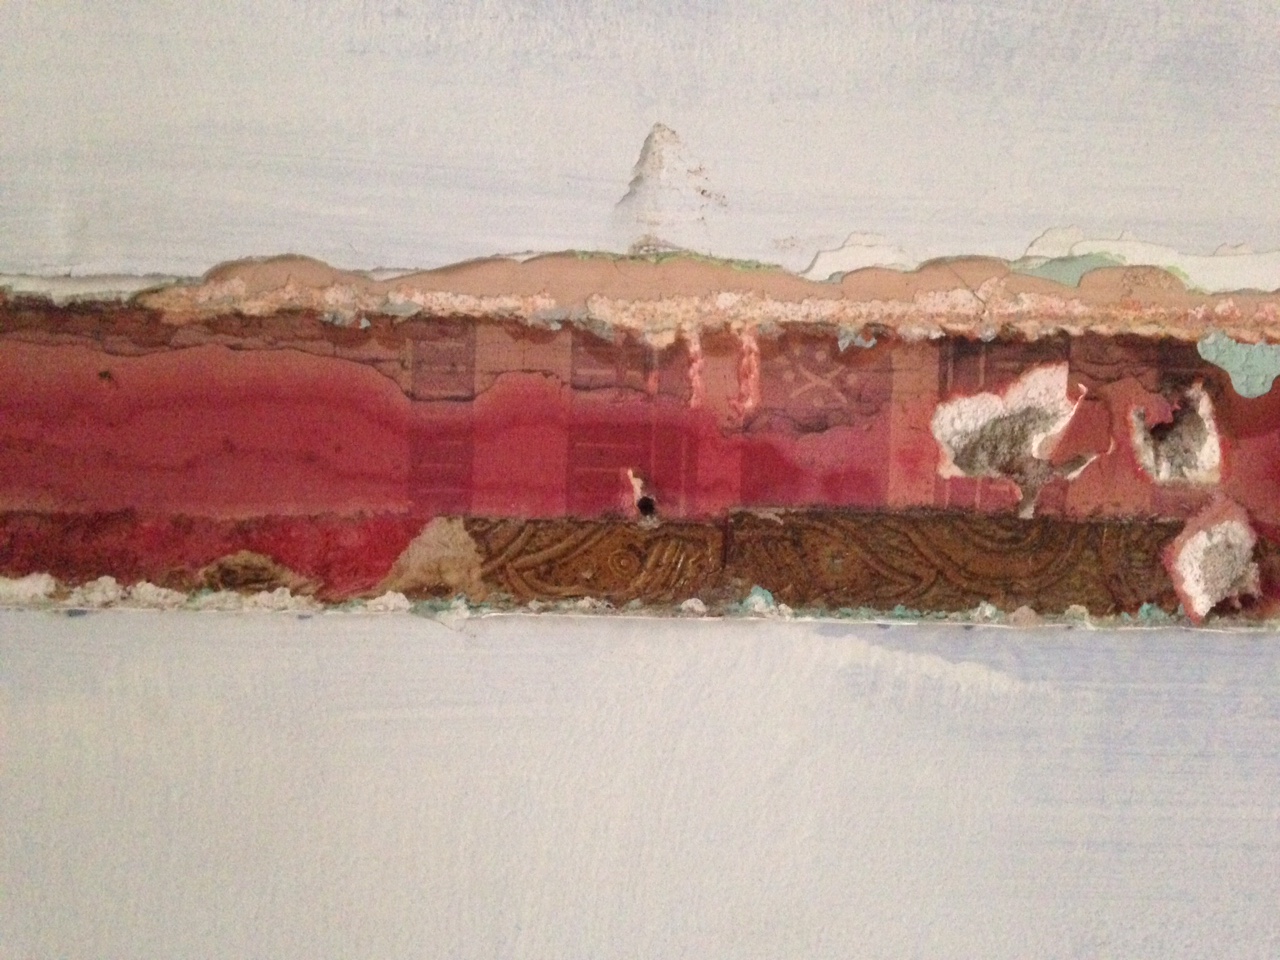
We also removed the bits of existing rail.

It is original to the house but likely not to this room judging from the fact that it was pieced together in small sections and there is really interesting wall paper behind it!
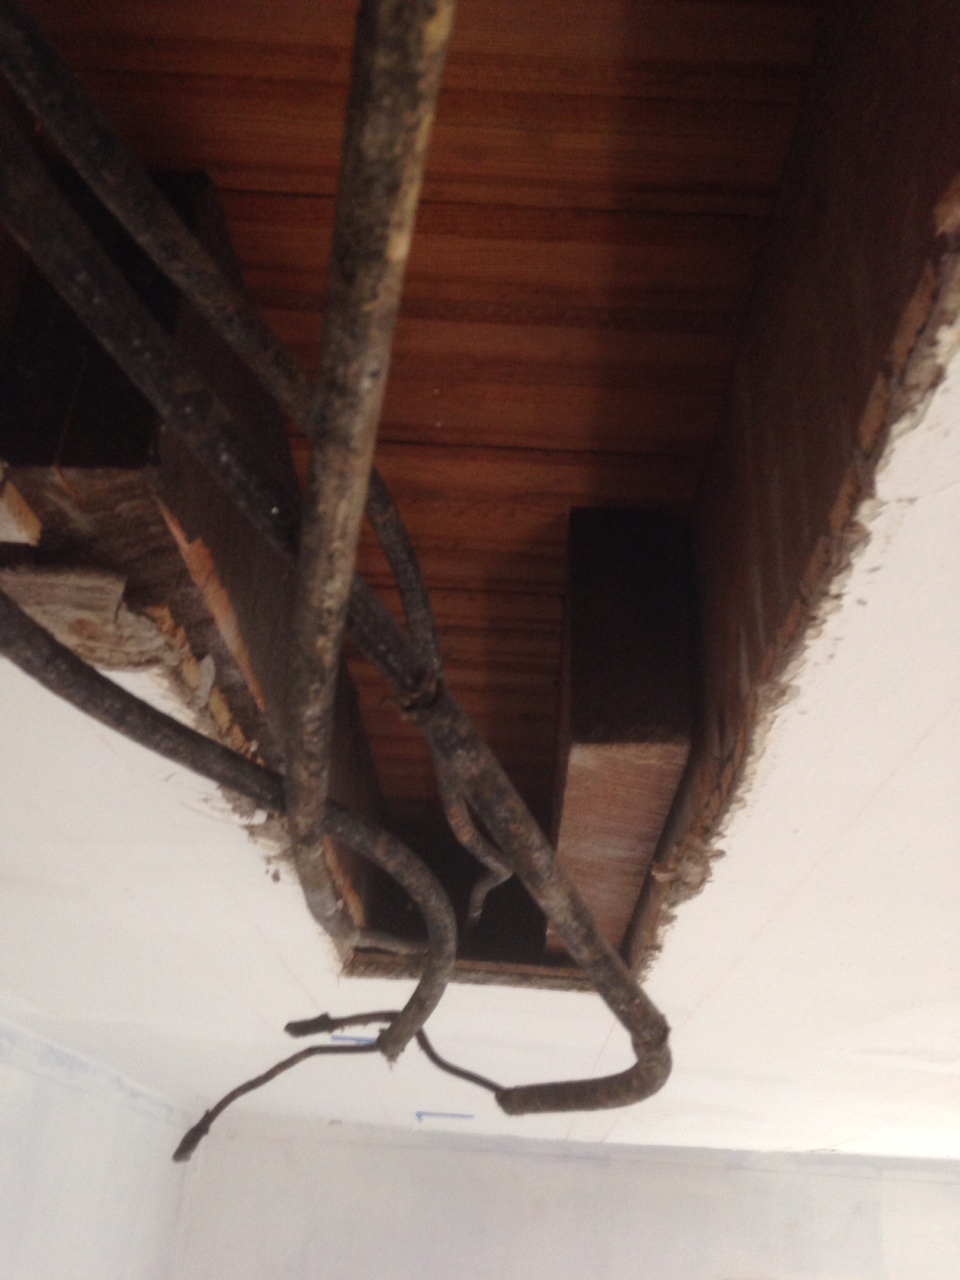
We had to cut out a section of ceiling to make way for new down lights that are going to wash the party wall, and found more of the original electrical wiring! (It’s scary that this 100 year old wire was still active when we bought the house…)
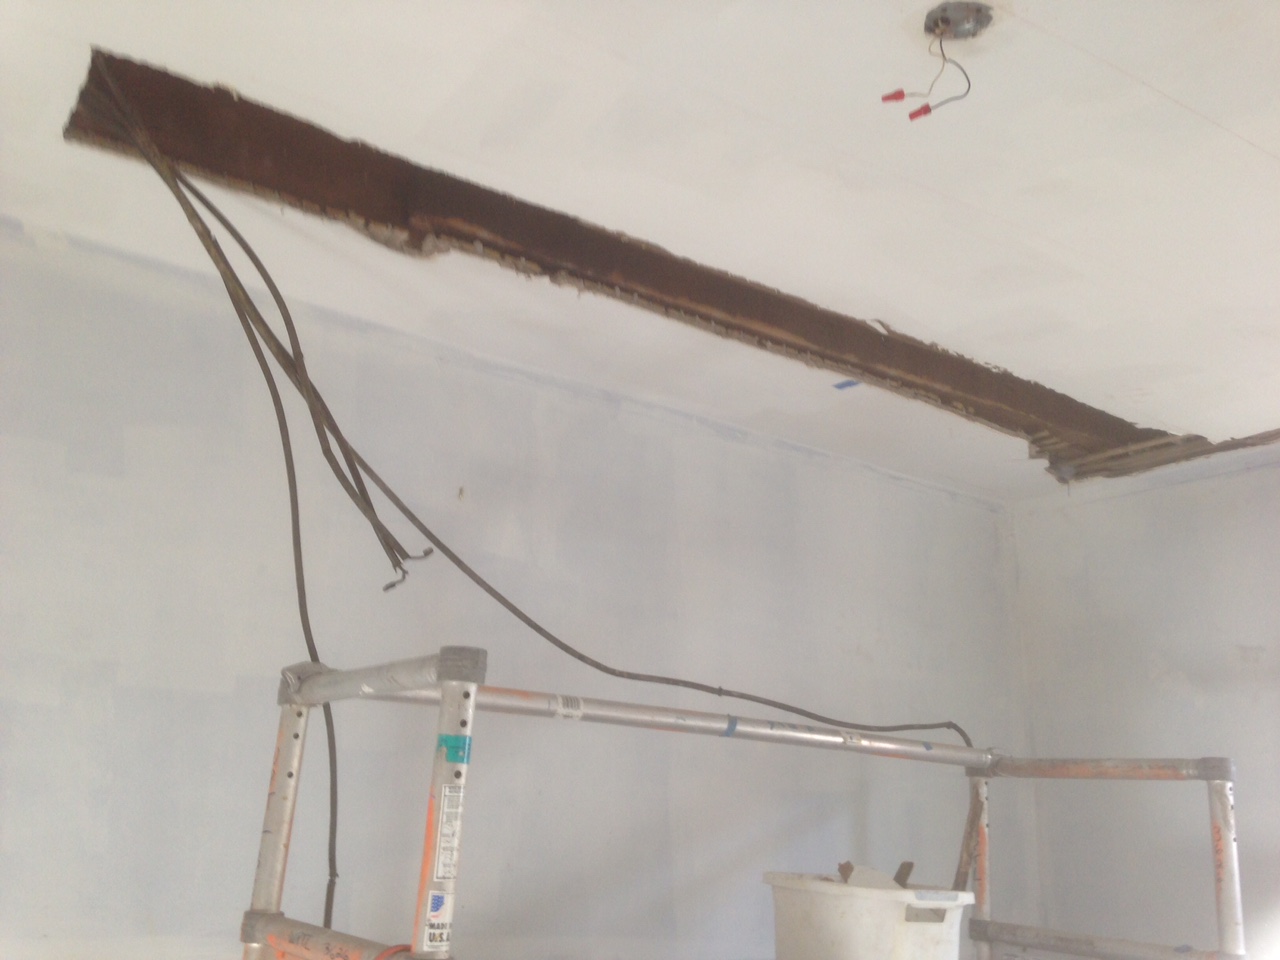
The other surprise was that when they added the projecting bay windows in the 1900 reno, they sistered new joists to the existing to support the cantilever… So there is significantly less space than we anticipated for our down lights, but we should still be able to make it work.
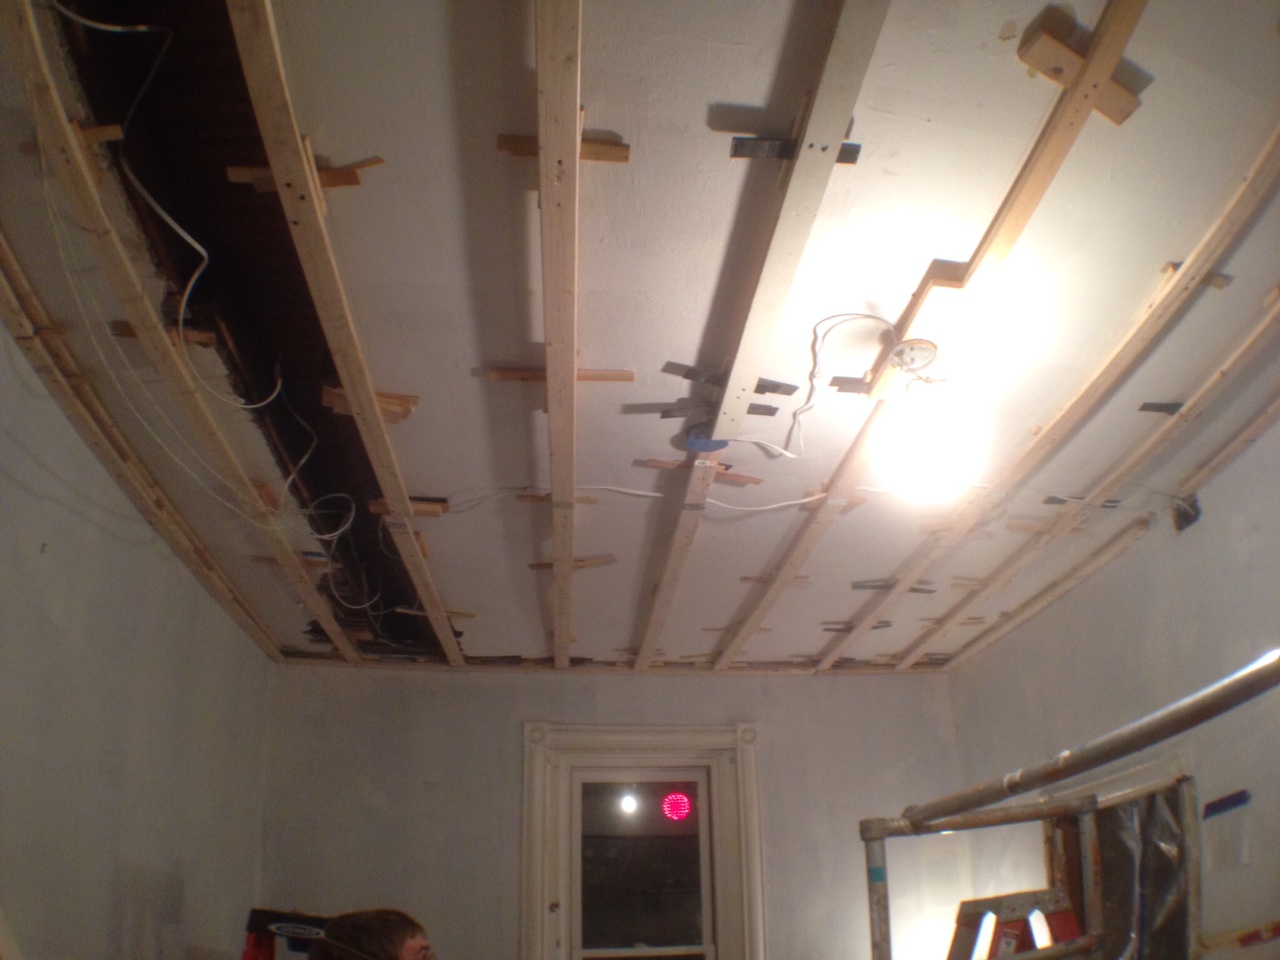
The longest task of day one was leveling the ceiling, a painstaking process of shimming each furring strip until level.
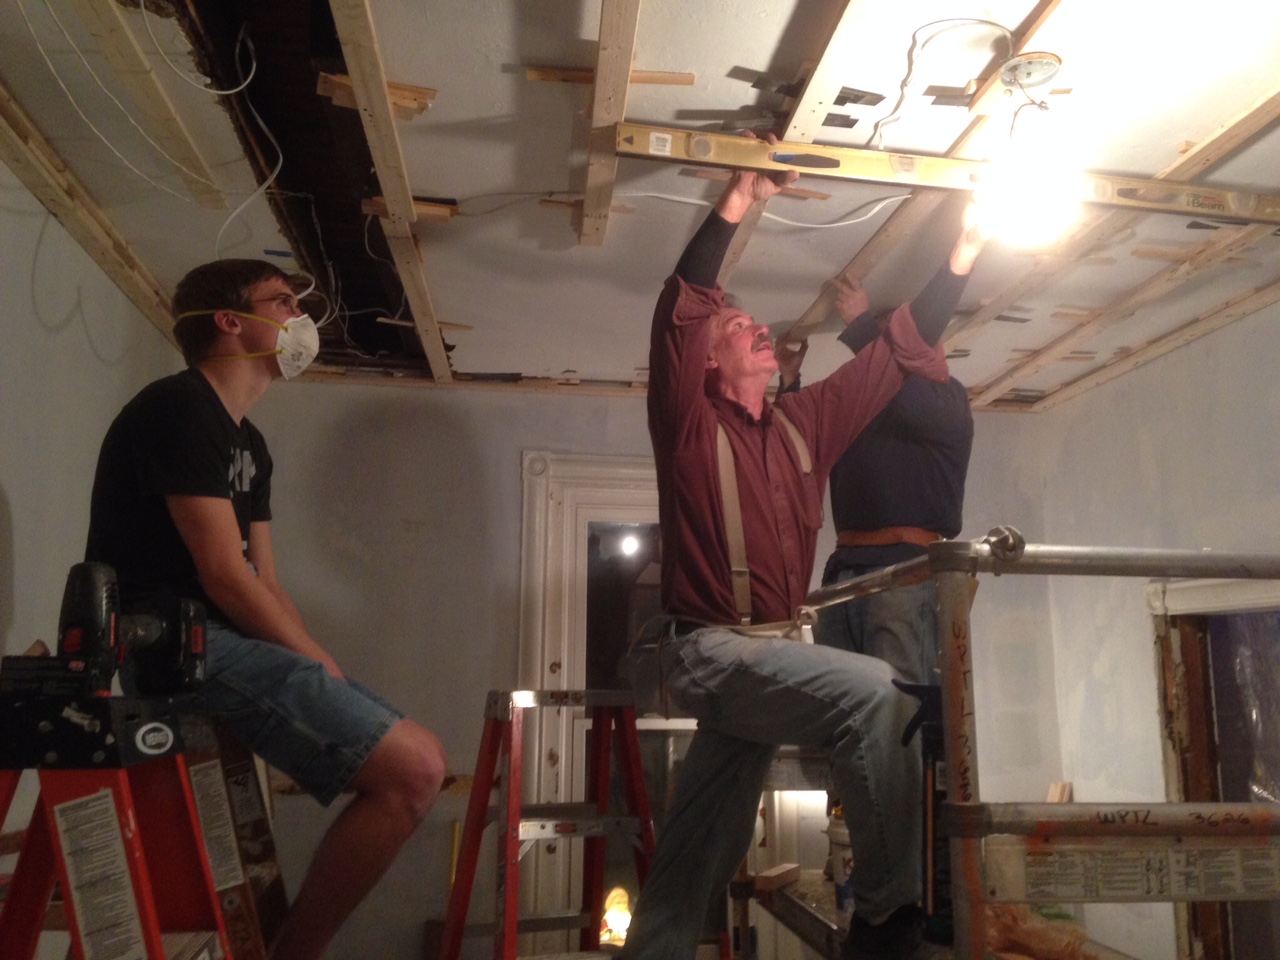
Lots of shims, wood blocks, and long screws later, the ceiling was level.
But since we had nowhere to store the 12′ sheets of drywall inside, onward we pushed with hanging the drywall.
Hanging drywall on the ceiling is always a bear, but luckily we had lots of help! Thanks guys!
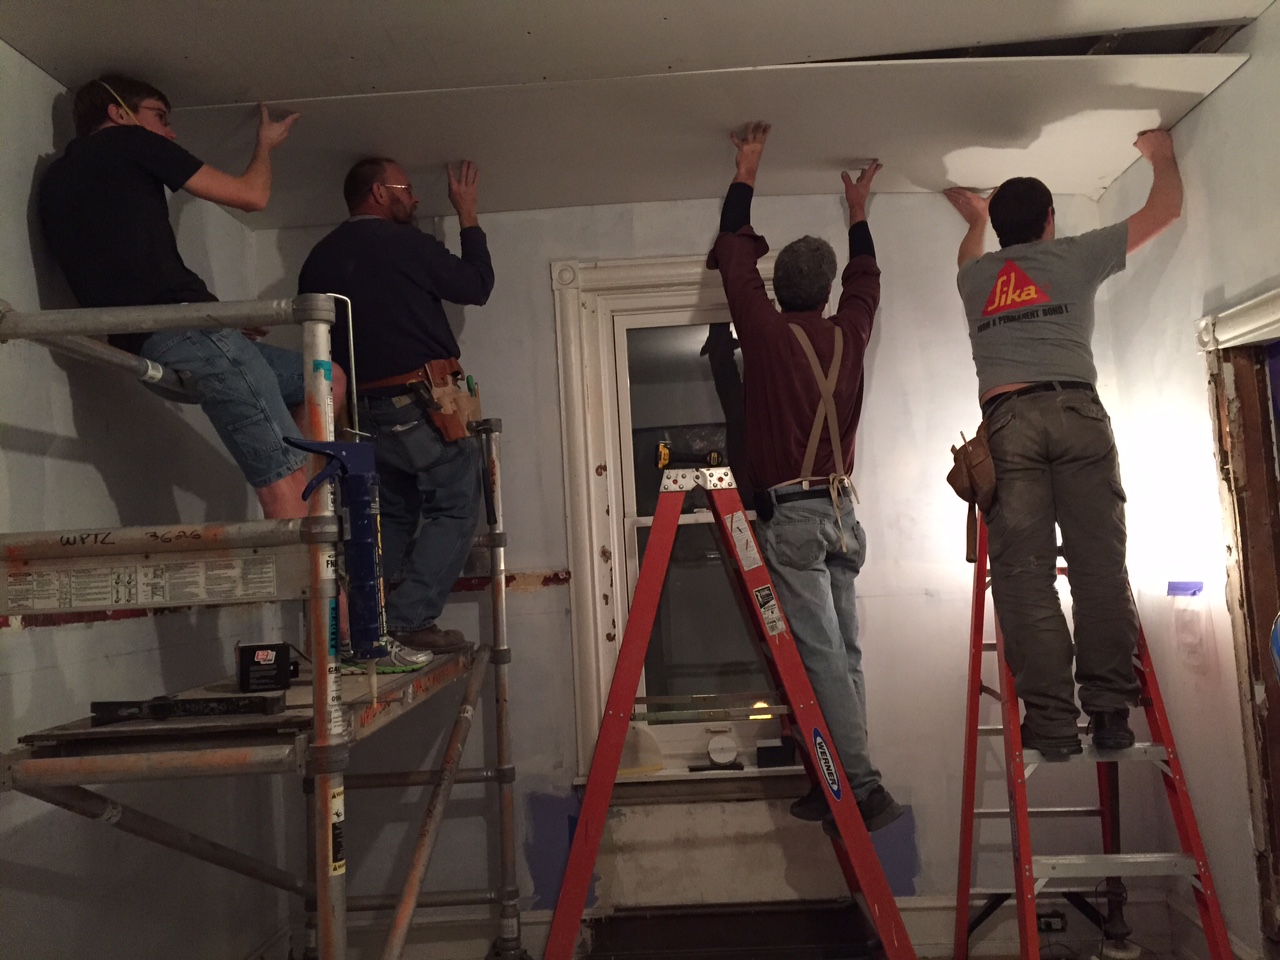
And now we have a new FLAT ceiling!
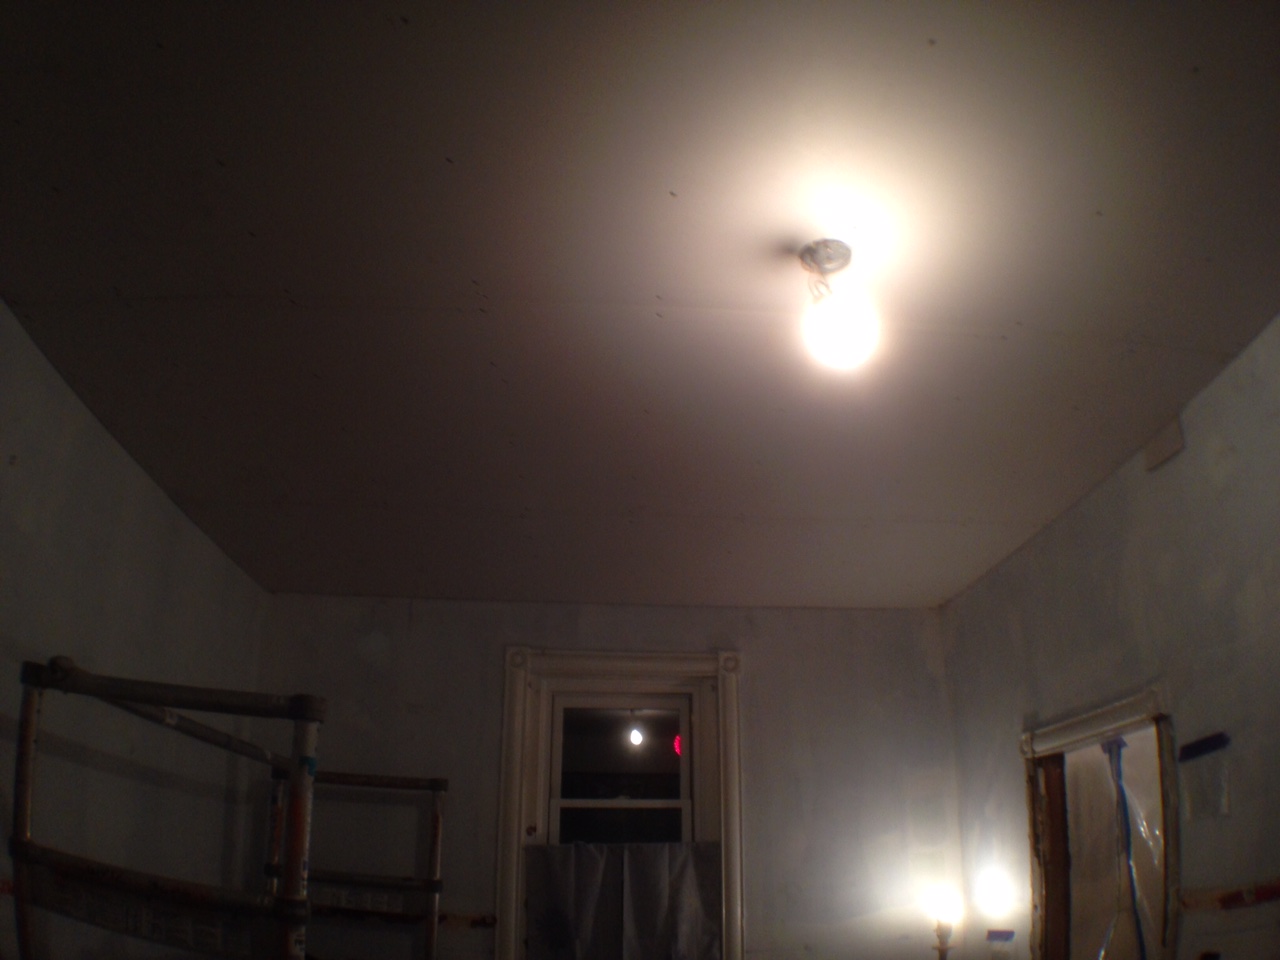
Happy New Year!
