
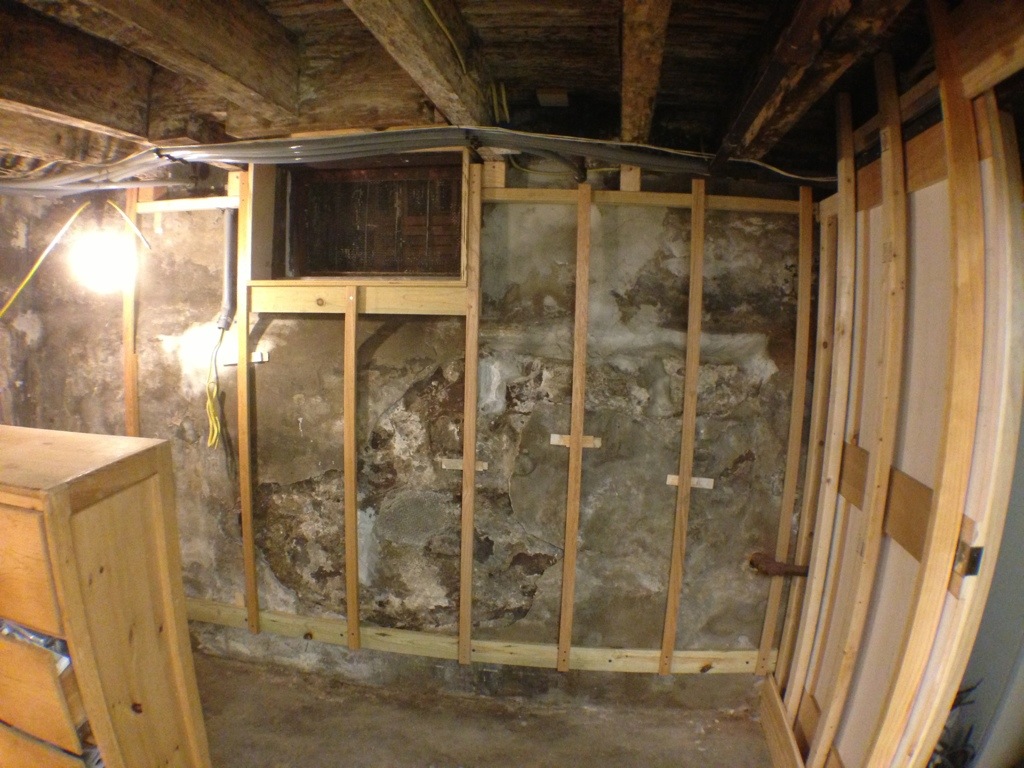
As part of the shop project we wanted to clean up the front wall of the basement and give ourselves more peg board to get organized! Always a lofty goal.
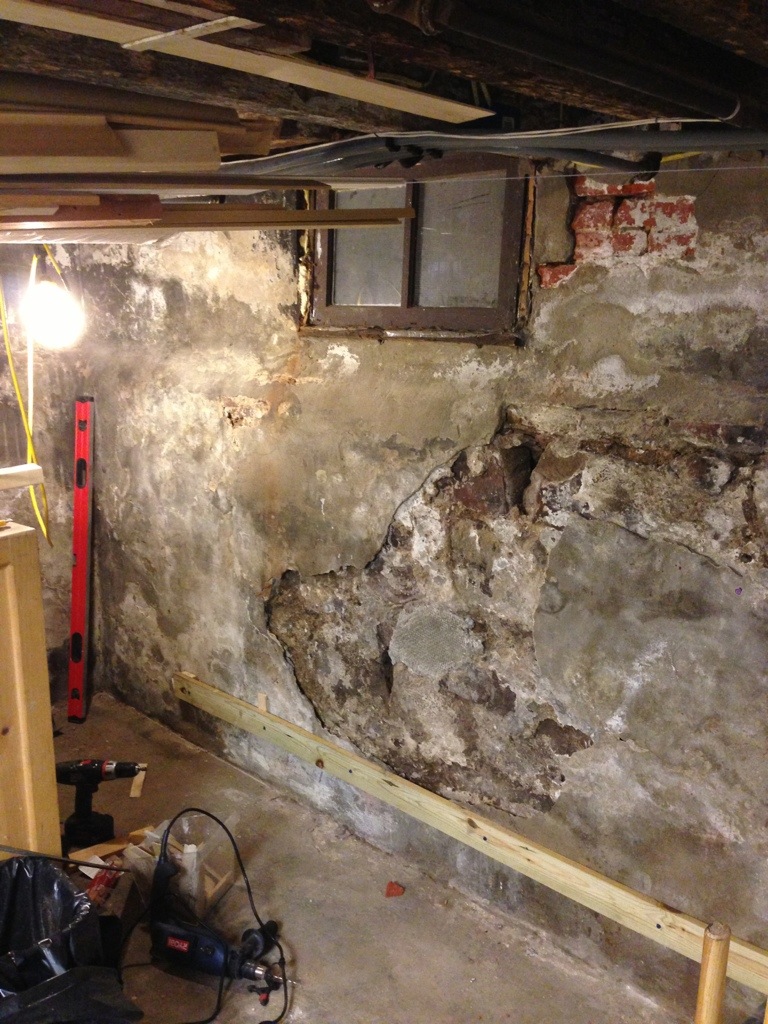
But before we could do anything I had to patch the crumbling masonry. (And taking into account the old stone and brick we had to make our own, softer mortar mix so not to damage the old materials.)
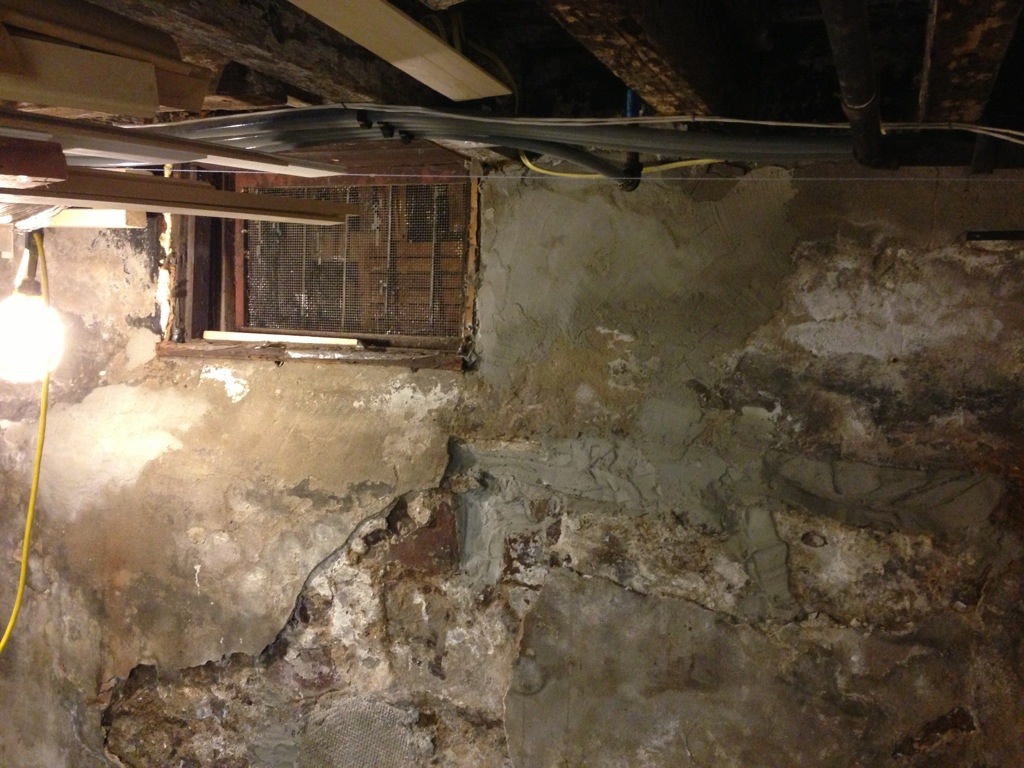
And of course no project is without surprises… the existing window sill was completely rotted out and the wood blocking that was once below was completely gone, disintegrated.
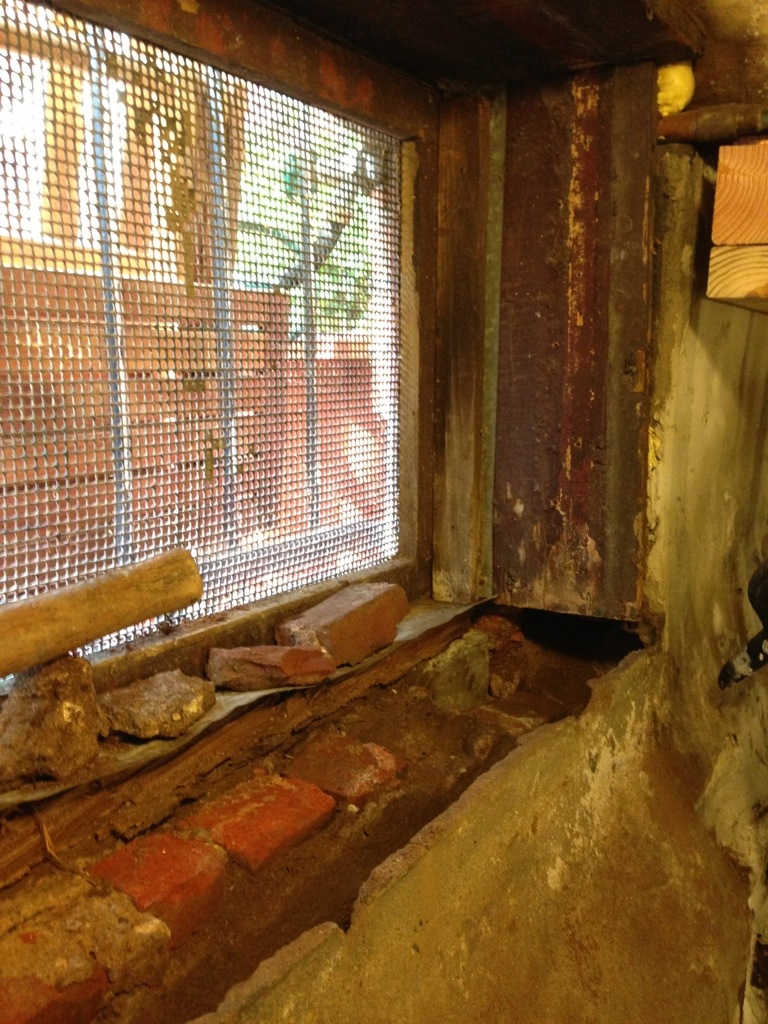
So we put in new pressure treated blocking and patched all the masonry around it.
So finally after all that we actually got to frame out the wall with furring strips for the peg board.
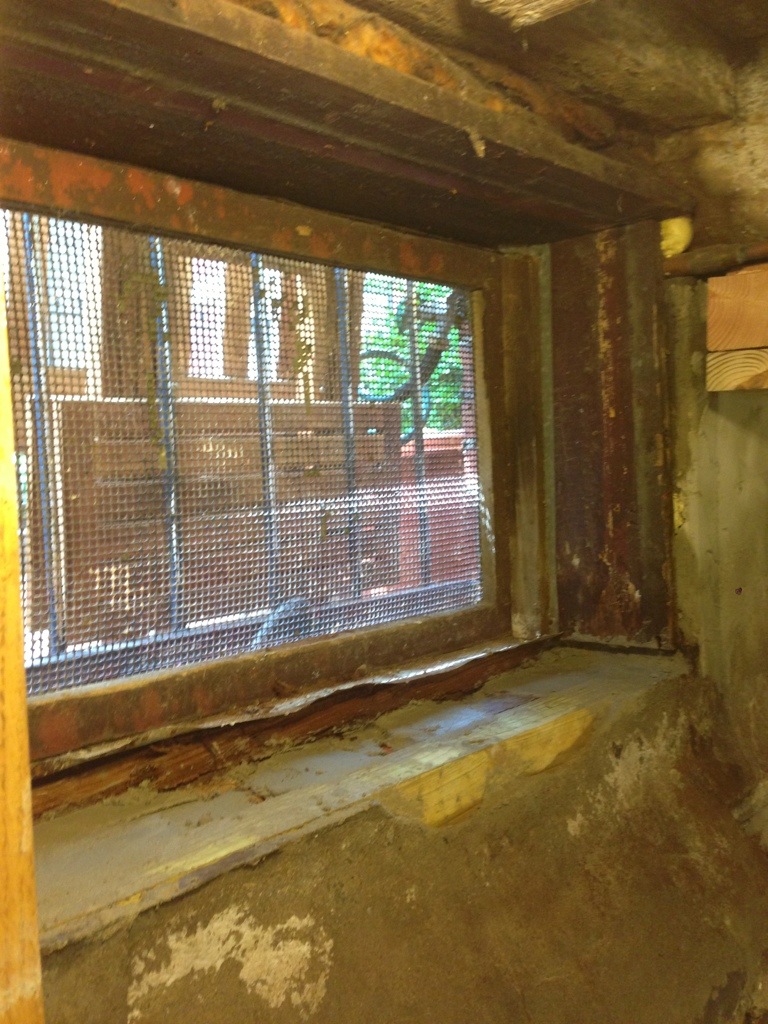
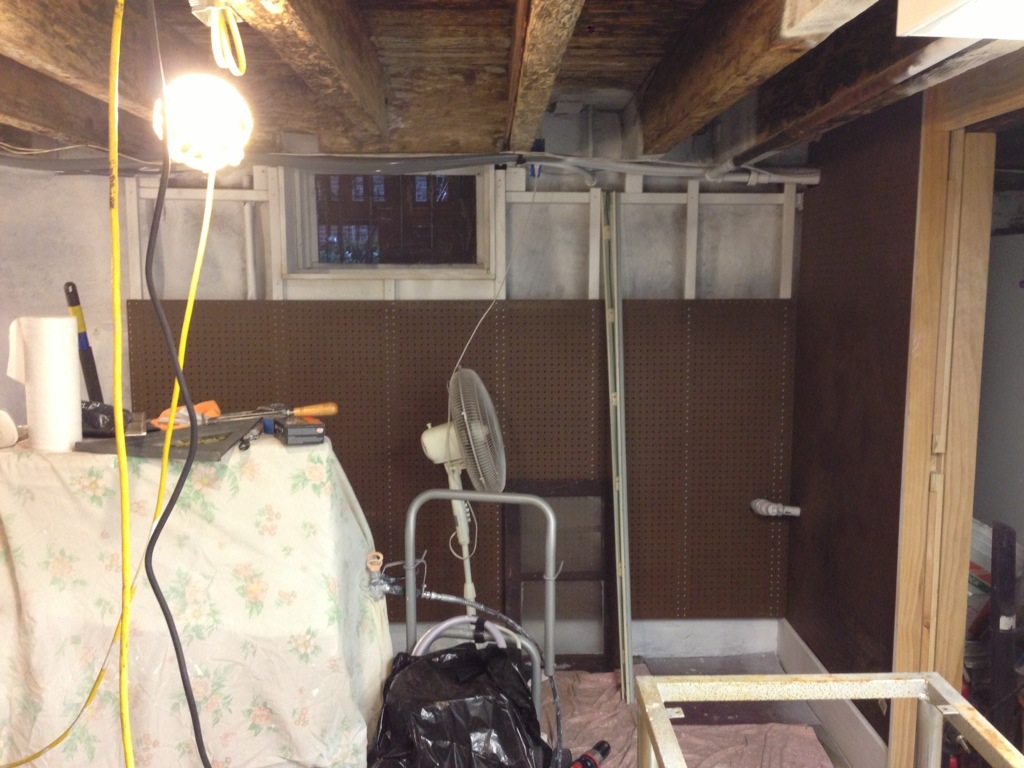
The window received new jamb extensions to bring them out to the face of the board and a new sill. We also clad the exterior sill in aluminum to help keep it from rotting out again.
We ran power behind the wall for a new power strip on the surface.

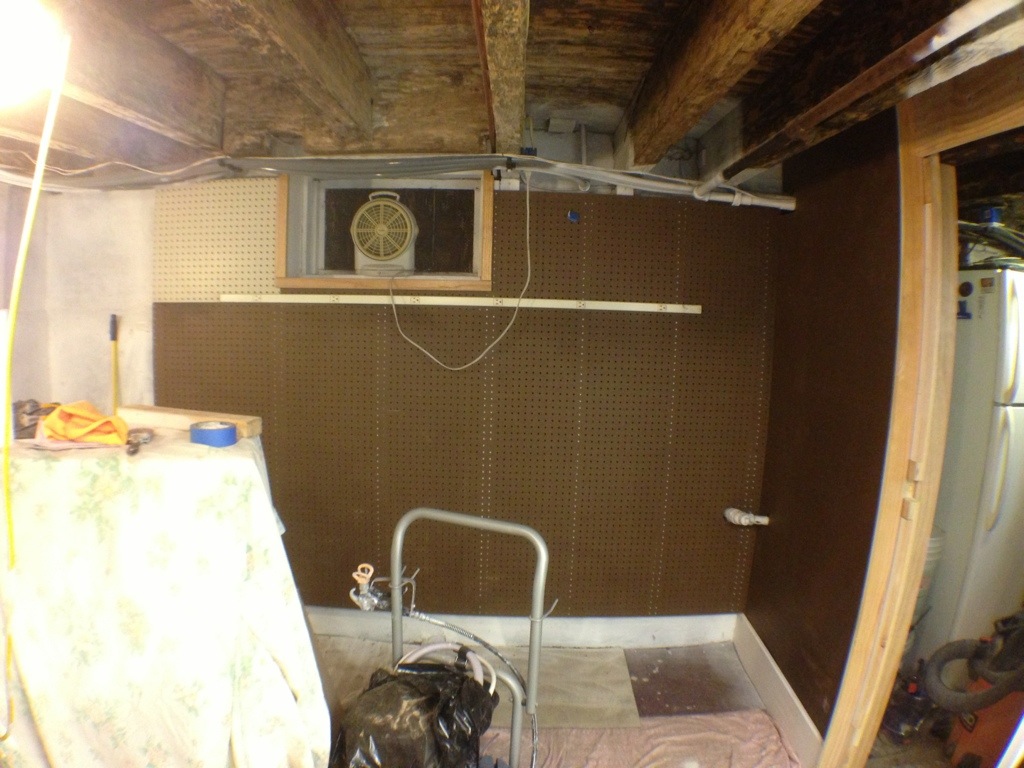
Once all the above was done the peg board itself went up fast. You did put one coat of white paint behind the board before we started hanging it. You can also see that we installed the peg board on the inside of the new wall we built for the sliding door.
And all done with the peg board! The window also got trimmed out and the power strip is installed.
Next up, painting everything a nice bright & clean white…
